Kapton Etching in Flex Circuit Manufacturing: Processes, Materials, and Considerations


PET vs PEN, LCP, PTFE/fluoropolymers, and specialty films like PEI/PEEK: when each wins, where each struggles, and what it means... read more
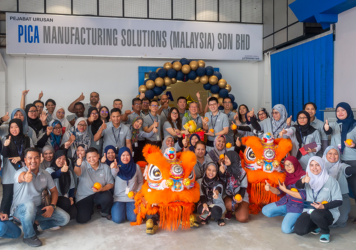
Malaysia has emerged as a global hub for electronics manufacturing—thanks to its strategic location, skilled workforce, strong infrastructure, and supportive... read more
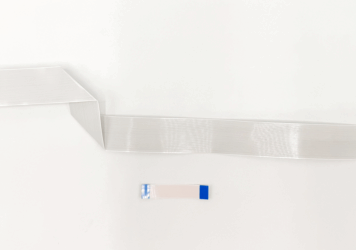
For engineers balancing performance, flexibility, and cost, Flat Flexible Cables (FFC) remain one of the most efficient... read more
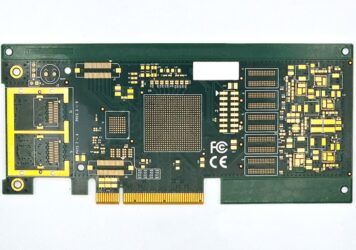
When space is tight, or when PCBs need to mate with enclosures, panels, or external interfaces, edge-mounted boards can offer... read more
Tariffs have played a role in the U.S. economy since the nation’s founding. In the early days of the republic,... read more

This blog is the introduction to a white paper called Introduction to High Frequency Signal Insertion Loss. Click the button... read more
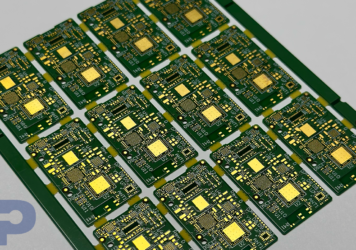
The production of Printed Circuit Boards (PCBs) and Flexible Printed Circuits (FPCs) encompasses chemical, mechanical, and printing processes... read more
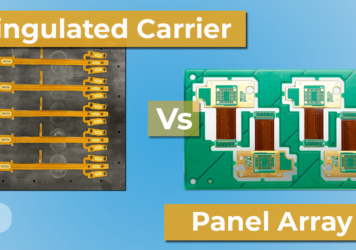
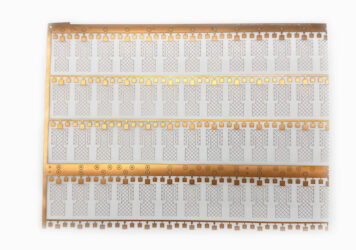
Part 2: Comparing Panel Array vs. Singulated Carrier AssemblyIn the first part of this series, we explored the key considerations... read more

From Flexible Circuits to Flexible ThinkingOur journey began in 1995 through a strategic partnership with M-Flex, providing engineering and sales... read more
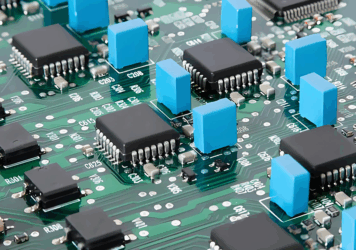
As electronic devices become more compact and powerful, managing heat effectively is critical to ensuring performance, reliability, and long product... read more